blastAMP!
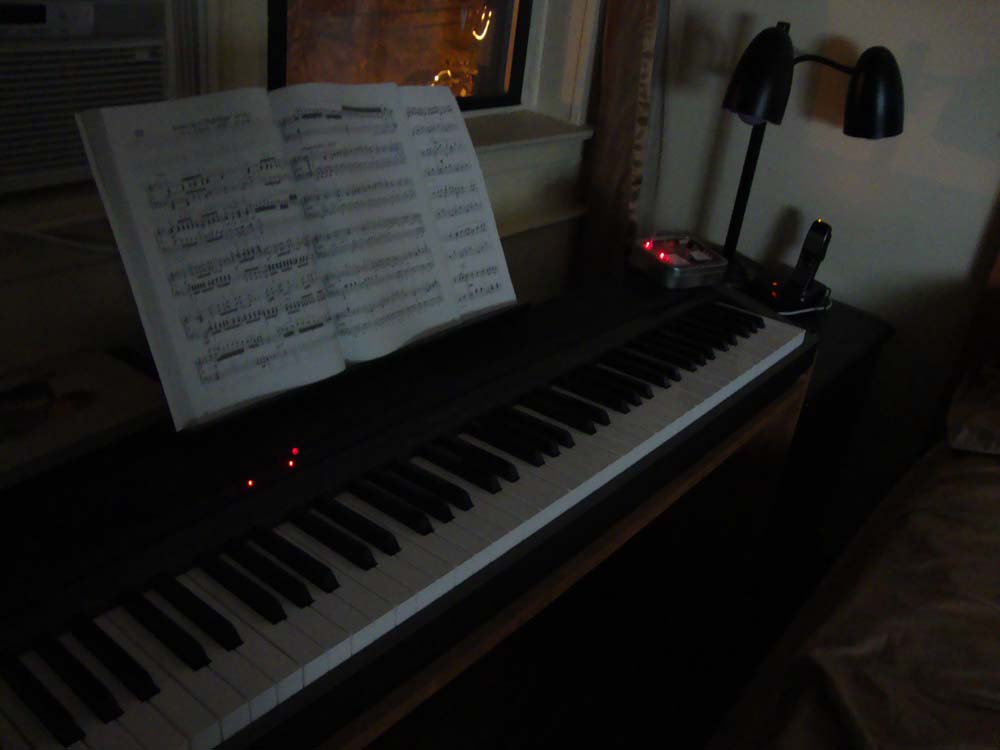
I’ve been learning to play piano for a while. In January last year I bought a great starter digital piano, the Casio Privia PX-130, complete with two headphone jacks. The included speakers were a bit underwhelming, but I found that when connecting it to my amp from a headphone jack, it sounded better than babies cooing on Christmas morning. I also use my computer with my amp, and switching the amp from computer input to piano input leaves the volume too low for me to hear the crispness of those faux ivory keys. So what do you do when you can’t hear something? You crank it up!
Over time this turned out to be a tiresome process. To play piano I had to find the amp remote, wherever it was, press the Function button on it several times, then hold the Volume Up button for a while until it maxed out. Then I’d play a bit and go back to the computer, where I had to again find the remote, press the Function button a few more times, then hold Volume Down until the volume level hit about 23 out of 33 to hear my computer jams without blowing an ear drum. This is the kind of thing that over the years, drives people to start hitting the sauce.
I set out to see what I could do, and decided. It was time to get nerdy with it. :)
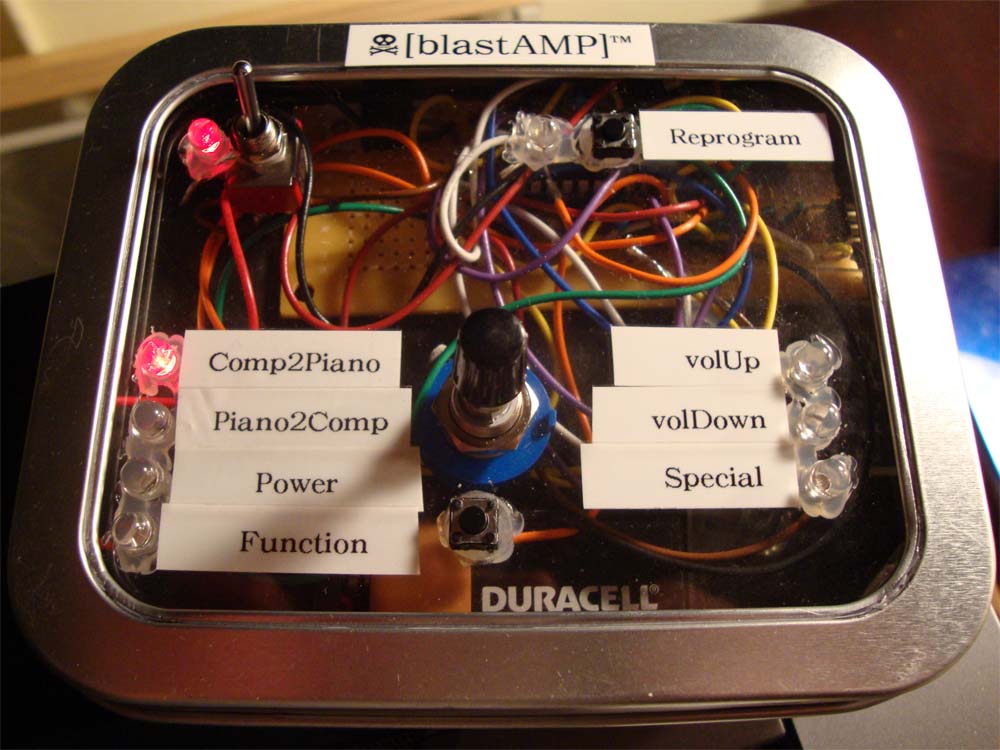
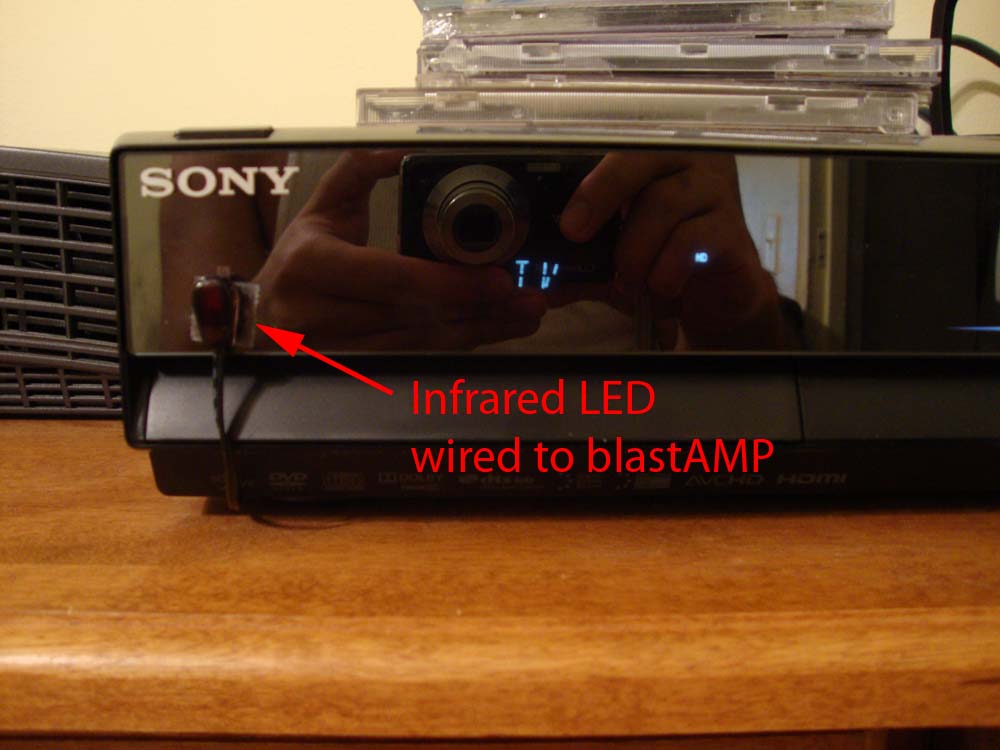
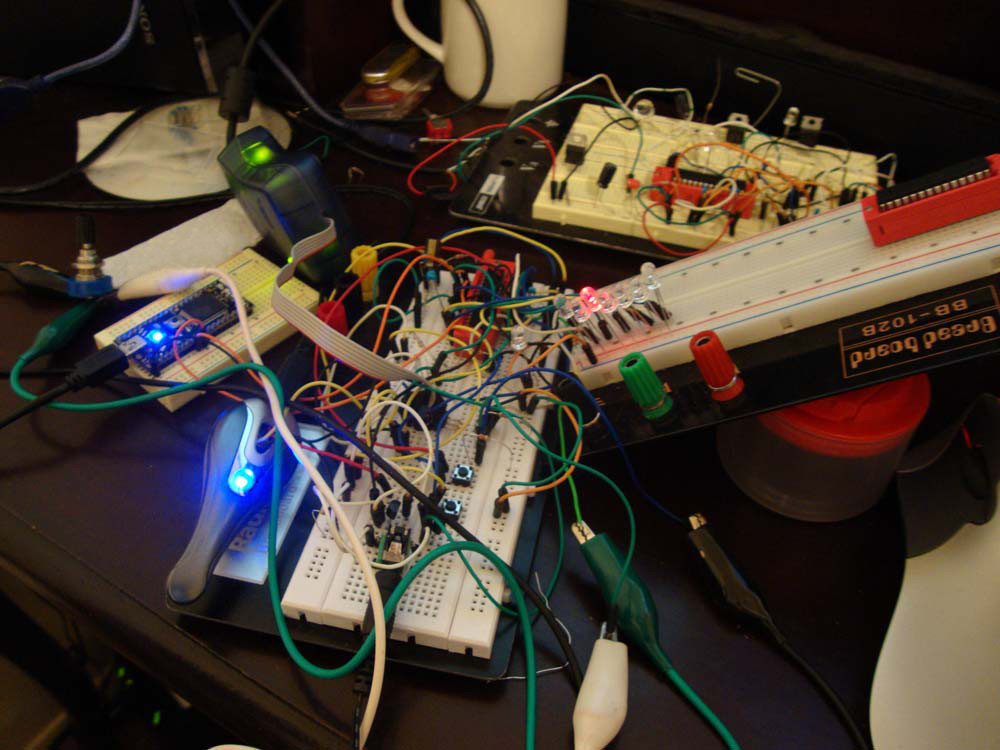
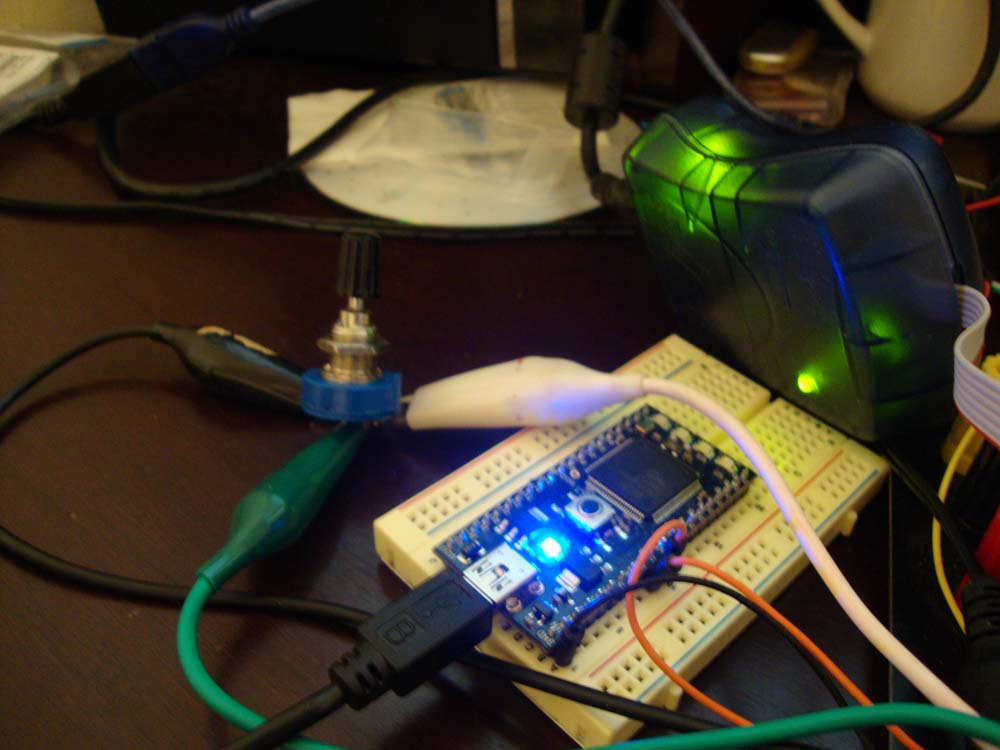
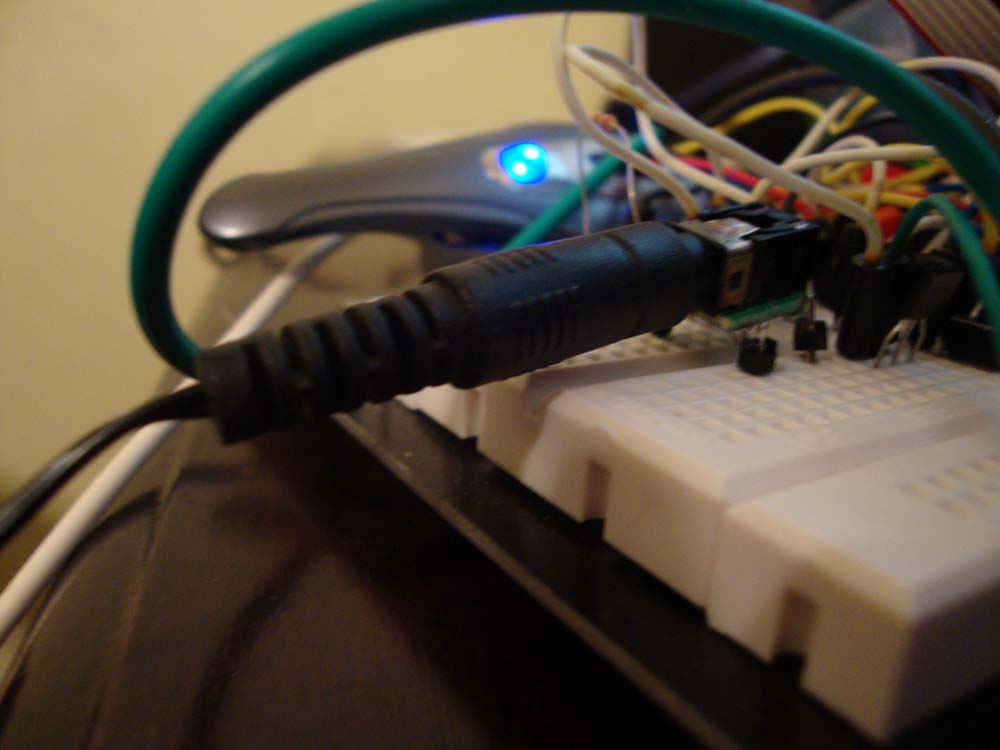
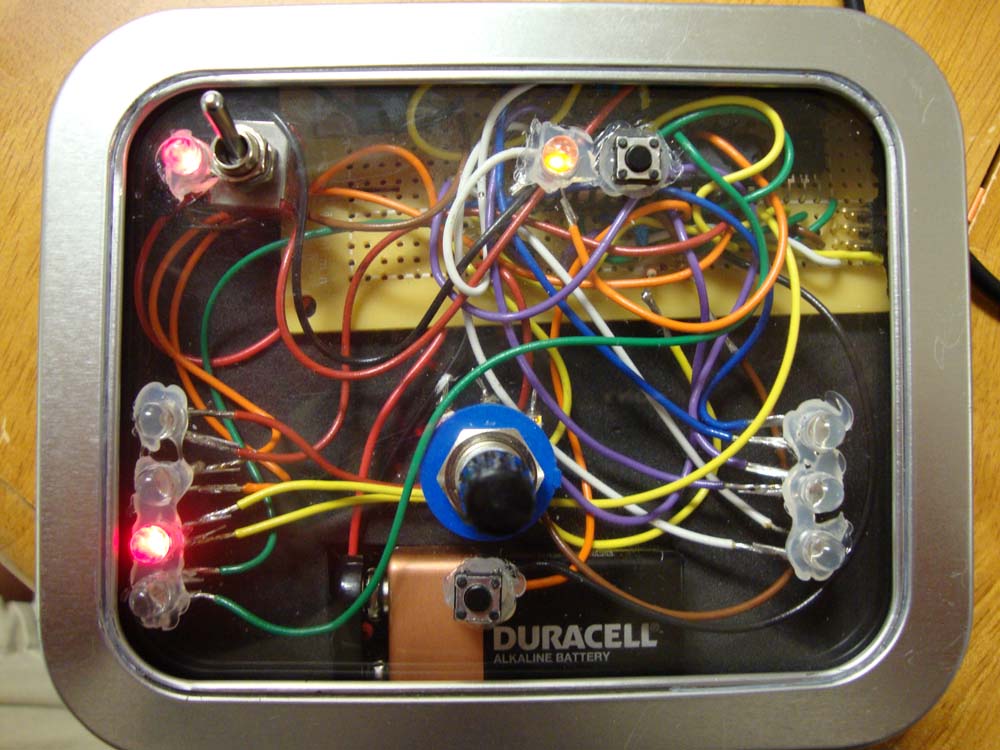
I ended up considering a box that would automate the process by throwing the remote control signals in sequence at the push of a button. How futuristic that would be! Well, not really. Essentially, blastAMP is a universal remote which learns the signals of other remotes, and it can also send multiple signals out in sequence, as if you pushed one button then another. It learns these signals using an infrared demodulator, an electric-eye that sees patterns in infrared light. Turning the knob on the blastAMP will set the signal you want to send as indicated by the labels on either side, which light up individually when selected. After doing this and pushing the button below the knob, that same code will be blasted out of the box through a jack and into wires hooked up to an infrared LED. Thus, by positioning this LED on the amplifier’s own infrared demodulator, you can blast signals to your amp without the remote control.
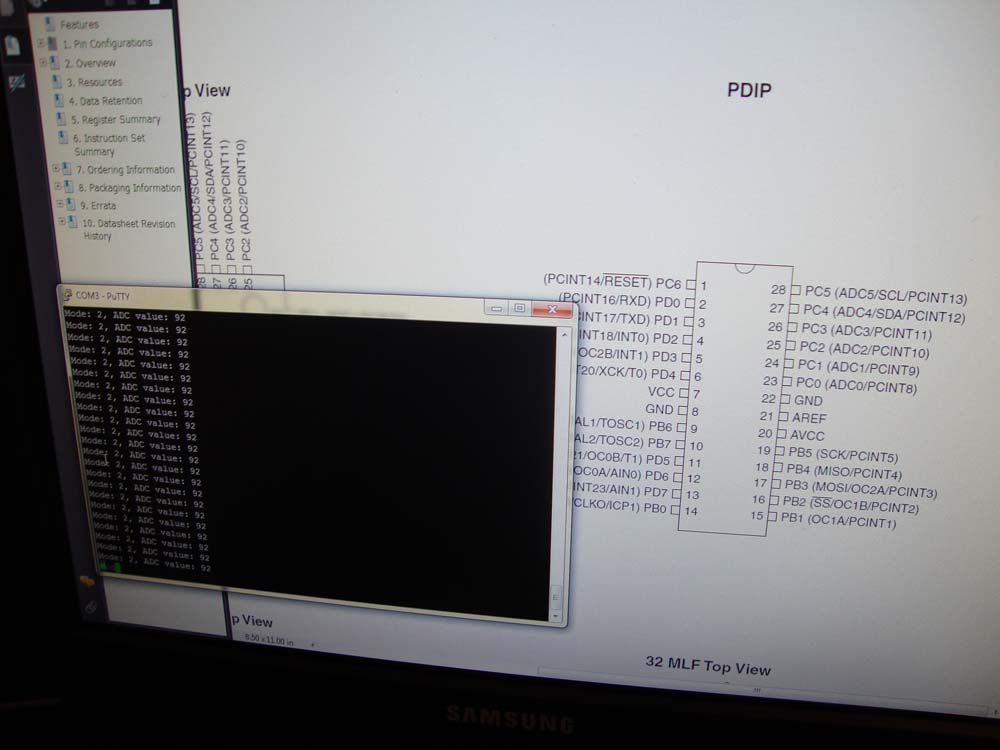
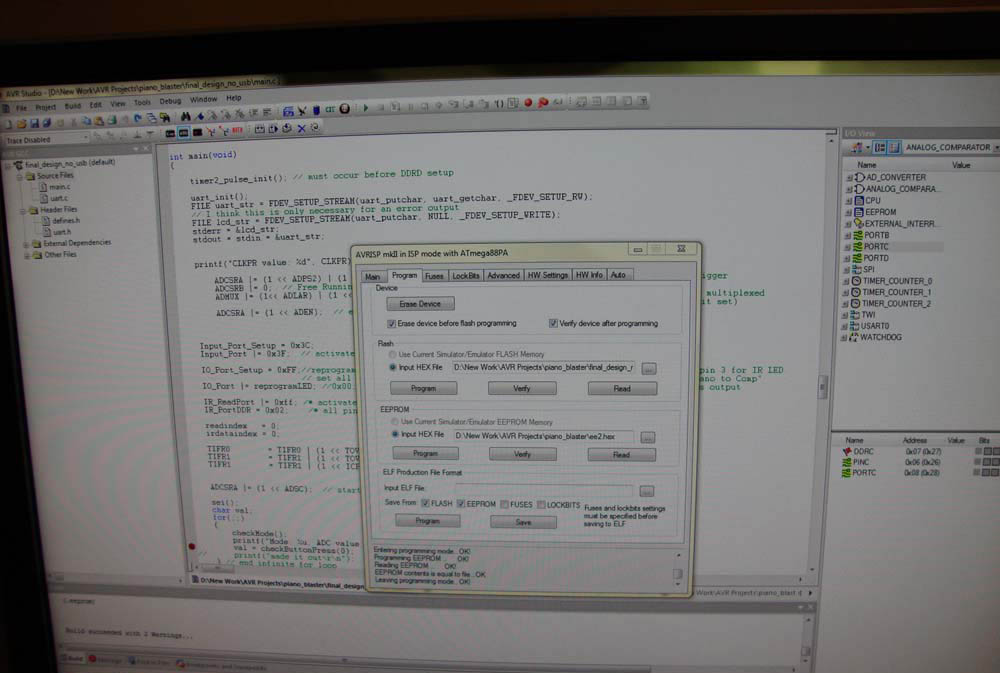
blastAMP can learn up to five remote control button codes and has two special settings: comp2piano and piano2comp. I made these to blast the required sequence I mentioned at the beginning of this post to switch between easy listening of my computer and my piano. The codes are stored directly onto the embedded AVR ATmega88PA microcontroller so that if power is lost, the codes are not erased. This makes it easy to switch on, push a button, and start playing.
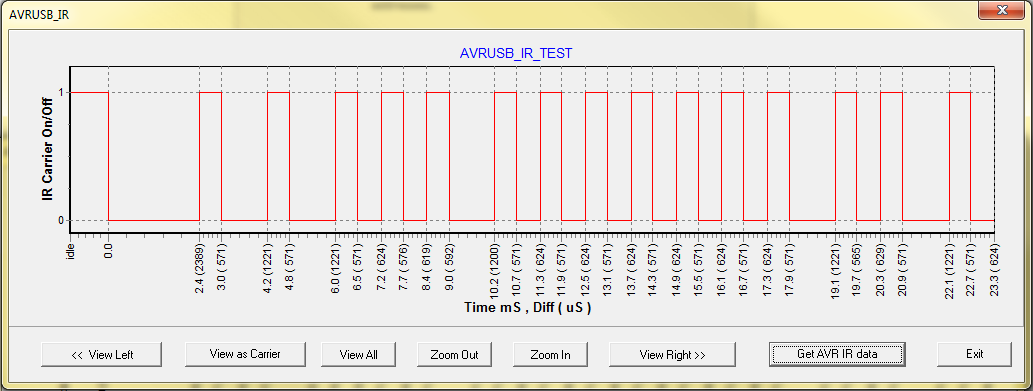
Along with Google, one particular web site was extremely valuable in teaching me how remote controls pulse their signals to other devices. The timings are very precise for pulsing the infrared LED with microsecond-precision, and the “on” pulses are pulse-width modulated at 40 kHz on a ~30% duty cycle, meaning that while the light would appear to be on, it is actually being switched on and off at a ~1/3 on-off ratio at a rate of 40,000 times a second!
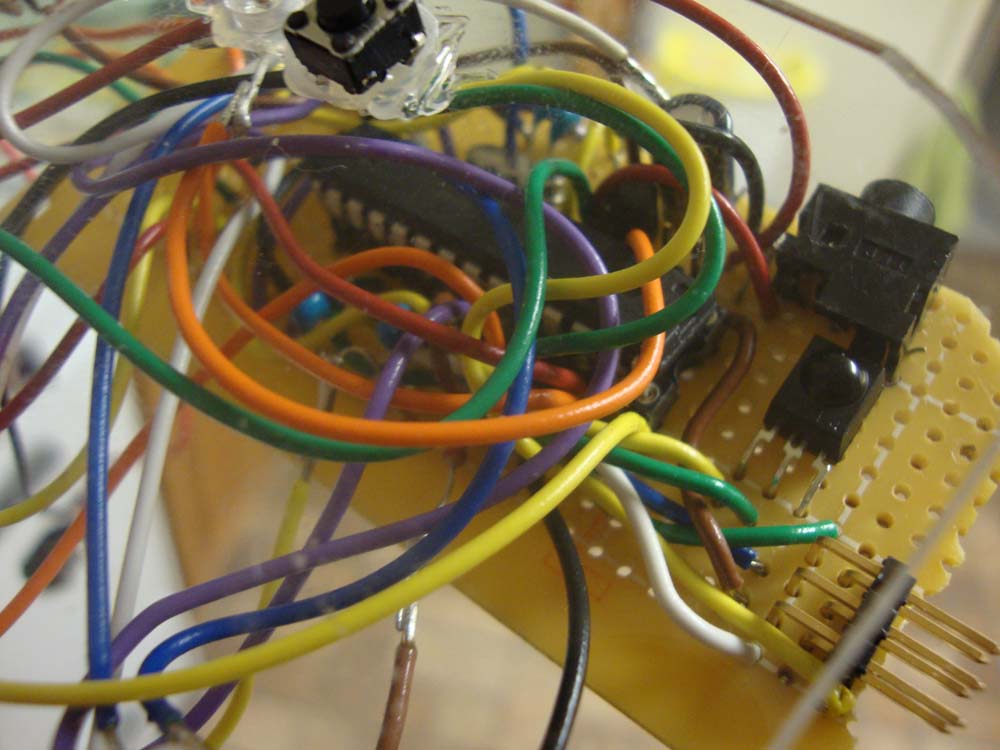
I’ve uploaded the C code to my github repository for anyone interested in taking a look or using it. I’ve tried to put comments in the code as much as possible for clarity. The schematic will be up once I figure out how to draw it in software, but I can scan a hasty drawing I made earlier on paper if requested. In any case the pin settings are in the heading of the main.c file at the repository. I’m happy to answer any questions you may have–all you have to do is comment here or reach me using my Contact page.
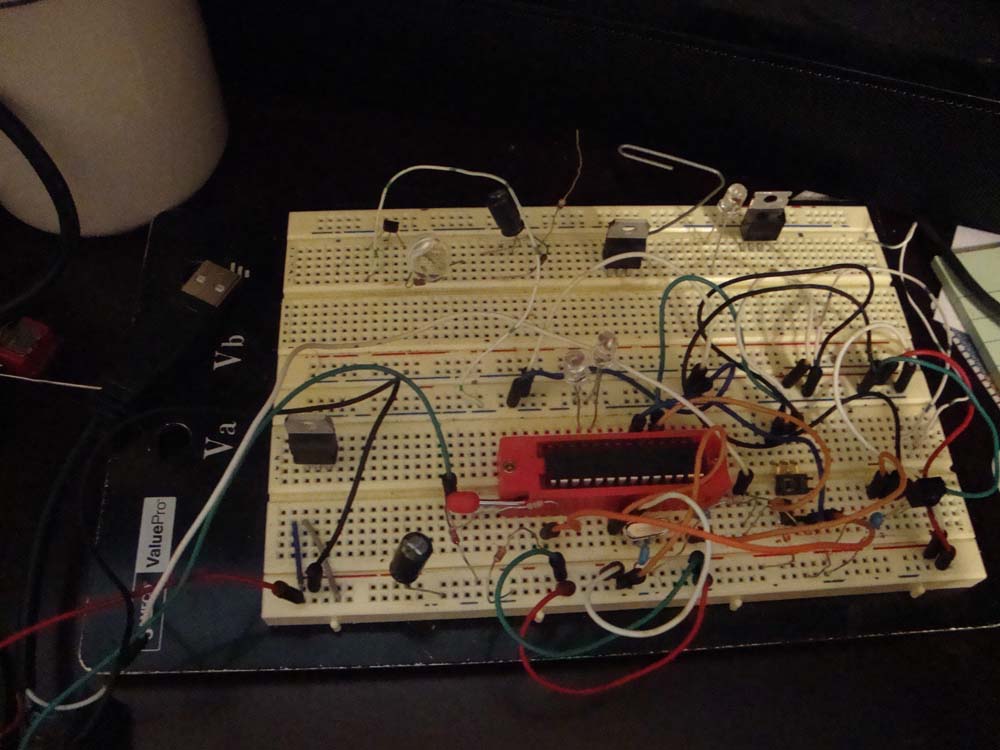
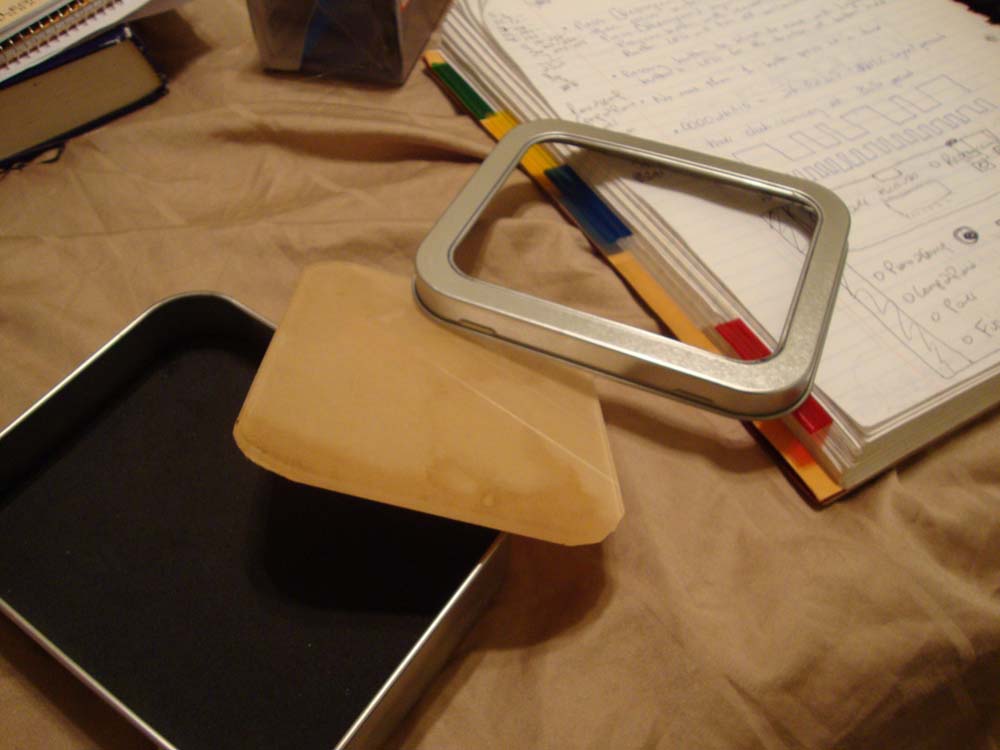
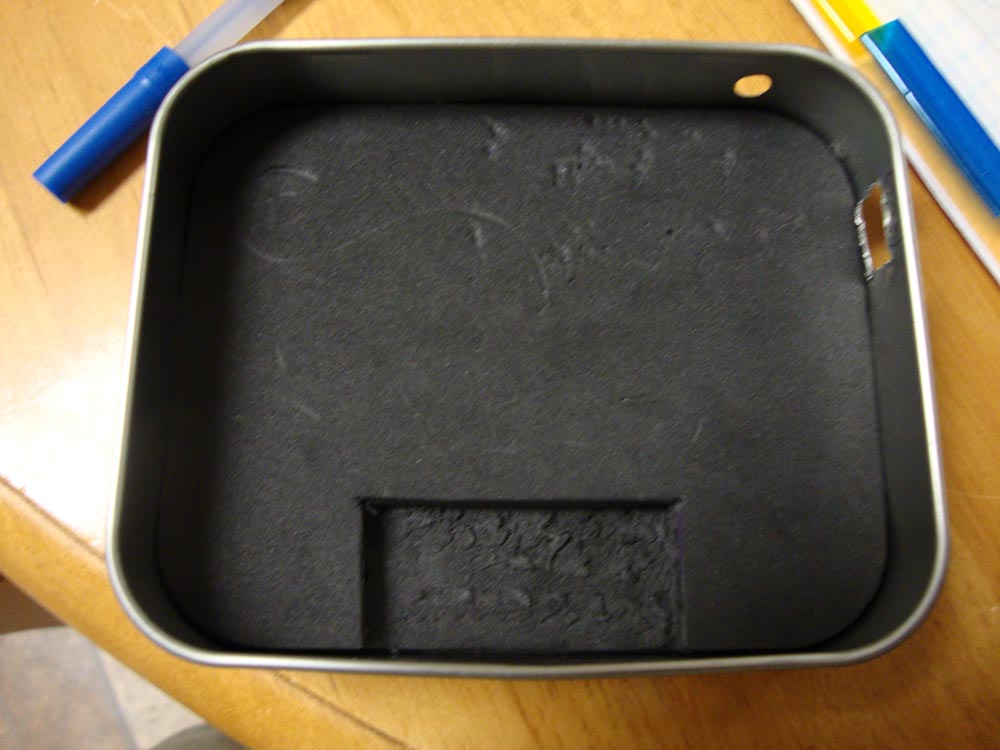
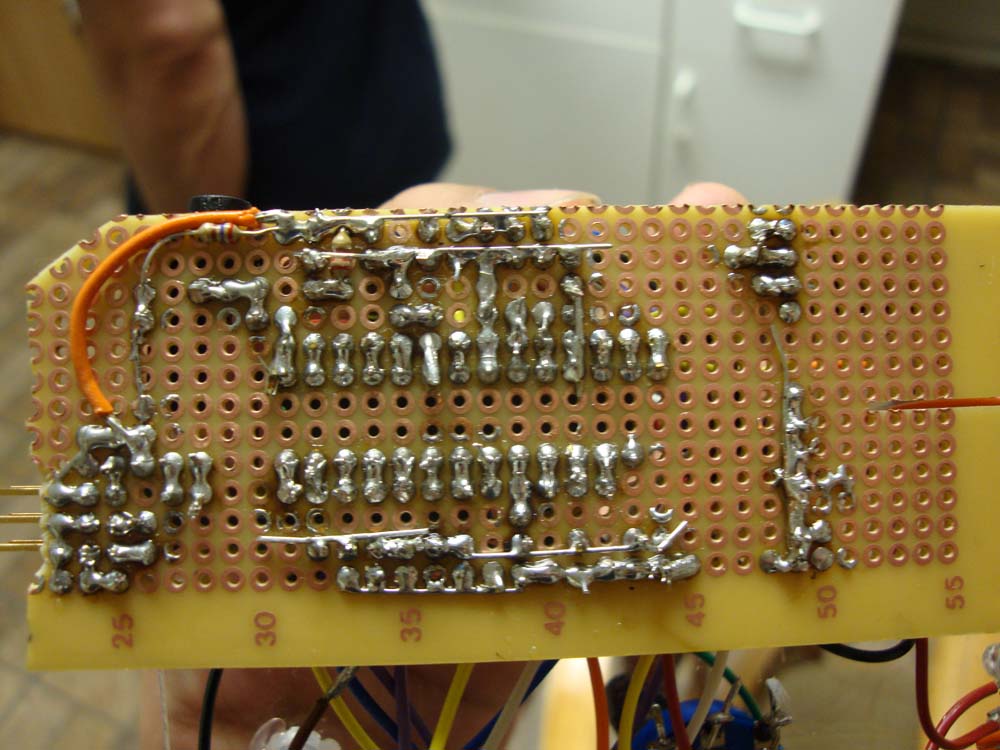
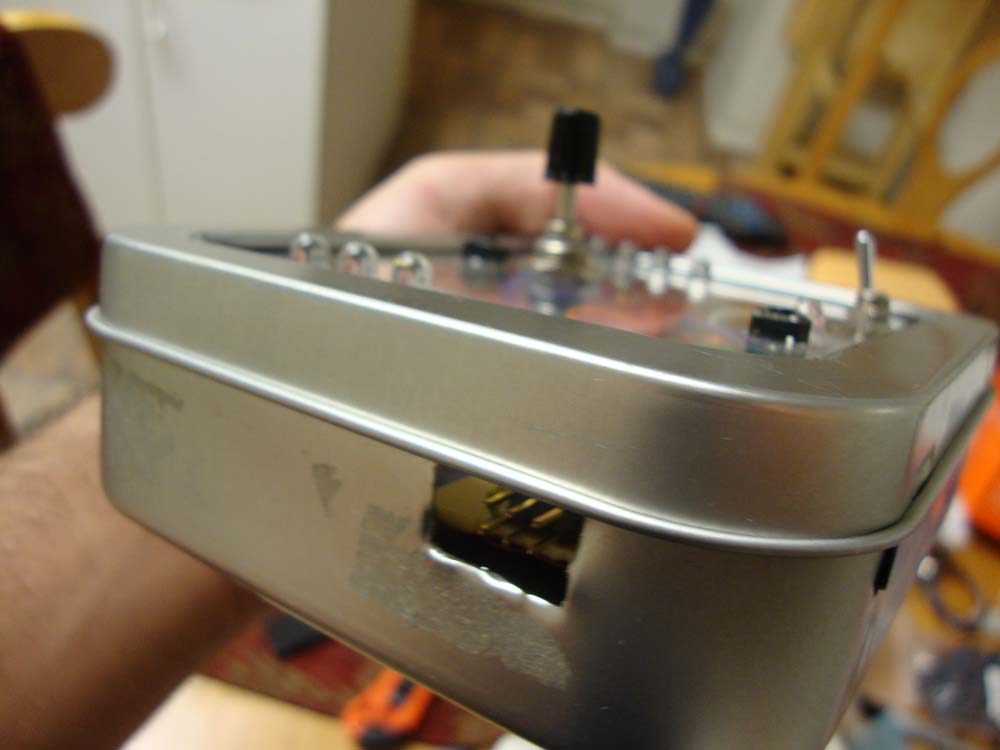
This was a really fun project to explore! I love learning new things, and this experience has left me with a lot of knowledge for other nerdy moments in the future. I’ll leave you with some pictures of the design-and-build process. Thanks for watching!
Comments